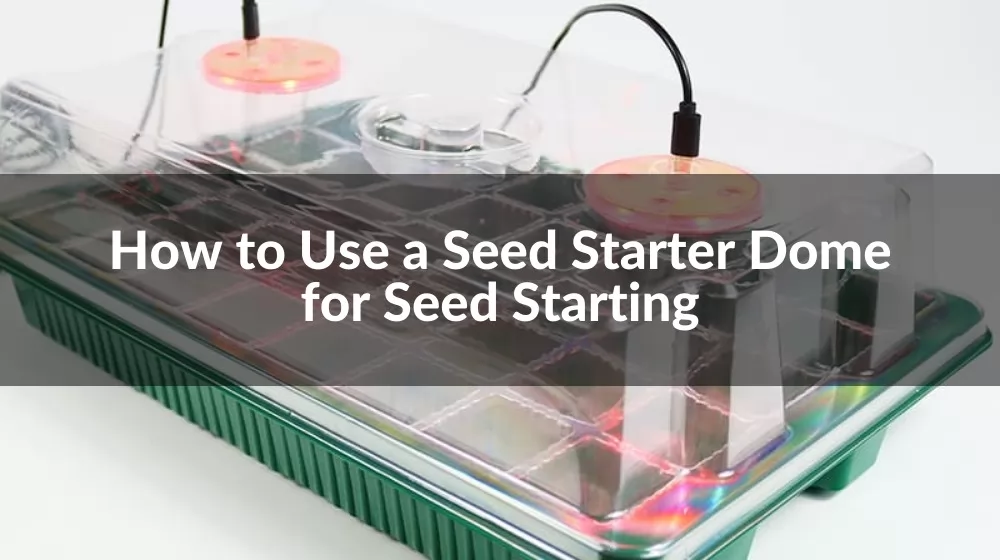
Are you looking to give your seeds the best possible start? Understanding the use of a Humidity Seed Starter Dome is crucial in achieving this. This guide will walk you through every aspect of using a Seed Starter Dome, from the basics of setting it up to advanced techniques for optimal results. Perfect for both novice and experienced gardeners, let’s embark on a journey to unlock the potential of your seeds with the right knowledge and tools.
Germination is the first step in a plant's life, and it's a critical phase where the right conditions are paramount for success. One of these essential conditions is humidity. In this chapter, we'll delve into why humidity plays such a pivotal role in the germination of seeds and how leveraging a Humidity Seed Starter Dome can dramatically enhance this process.
Seeds require a delicate balance of moisture and air to sprout effectively. Too little moisture, and they remain dormant; too much, and they might rot. Humidity, the amount of water vapor in the air, is crucial in providing this balance. It helps in maintaining the ideal moisture level around the seed, which is necessary for breaking down the seed coat – a process known as imbibition. This moisture absorption kick-starts the enzymatic reactions needed for growth.
The use of a Seed Starter Dome becomes instrumental here. It creates a microenvironment with controlled humidity levels, ideal for seed germination. By maintaining consistent humidity, these domes ensure that seeds receive the right amount of moisture throughout the germination period. This is particularly beneficial for seeds that require higher humidity levels, which might be challenging to achieve in open-air environments.
A Humidity Seed Starter Dome is an innovative tool designed to optimize the seed germination process. This device acts as a mini greenhouse, providing a controlled, humid environment that is essential for effective seed sprouting. Let's explore what a Seed Starter Dome is and how it functions to support healthy plant growth right from the seed stage.
At its core, the Humidity Seed Starter Dome is a transparent, dome-shaped cover that fits over a seed tray. This cover is typically made from a clear, durable plastic material, allowing sunlight to penetrate while trapping moisture and warmth inside. The dome's design plays a crucial role in maintaining a high humidity level, which is key to seed germination.
The workings of a Seed Starter Dome are fairly straightforward yet highly effective. When seeds are planted in the tray and watered, the dome traps the moisture, creating a humid microclimate. This environment mimics the natural conditions that seeds would find in the soil, encouraging them to germinate. The dome also helps in maintaining a stable temperature, protecting the seeds from external temperature fluctuations.
Additionally, most Humidity Seed Starter Domes come equipped with vents. These can be adjusted to control the amount of airflow and further regulate the humidity and temperature inside the dome. This feature is particularly useful as the seedlings begin to grow and require more air circulation.
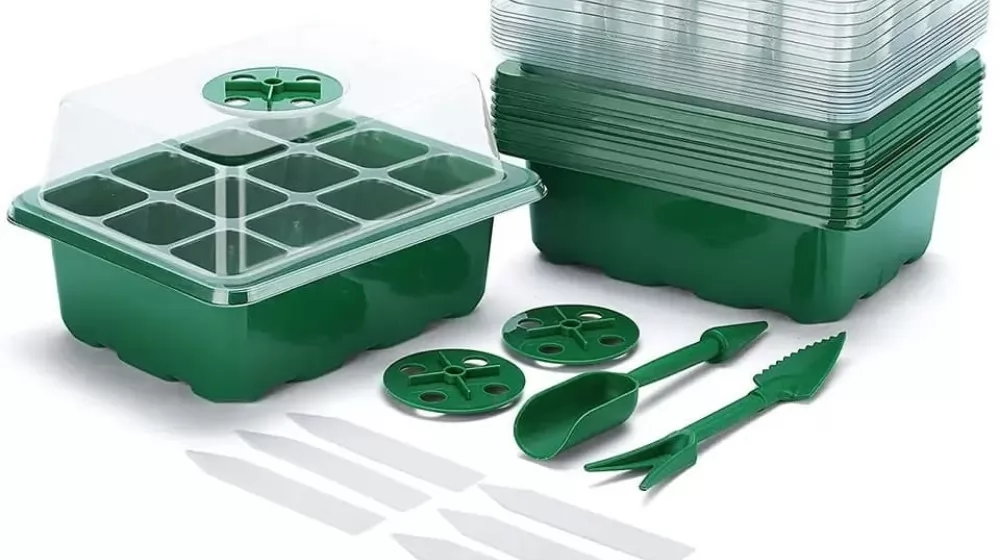
When it comes to starting seeds, gardeners often ponder whether a Humidity Seed Starter Dome is a necessary investment. The answer isn't a straightforward yes or no, as it depends on various factors such as the type of seeds, environmental conditions, and personal gardening goals. Let’s dive into understanding when and why a Seed Starter Dome can be an invaluable tool for your gardening endeavors.
Firstly, it's important to recognize that different seeds have different germination requirements. Some seeds, especially those native to humid environments or those with a hard outer shell, benefit significantly from the high humidity levels provided by a Seed Starter Dome. In such cases, using a dome can accelerate germination and increase the success rate.
Secondly, environmental factors play a crucial role. If you live in an area with dry air, or if you're starting seeds in a controlled indoor environment (like a home or greenhouse), the ambient humidity might not be sufficient for optimal seed germination. Here, a Humidity Seed Starter Dome can provide the necessary moist environment.
However, it’s also worth noting that not all seeds require high humidity to germinate. Some seeds may even be susceptible to mold or rot in overly moist conditions. In these cases, a Seed Starter Dome might not be necessary.
A common question among gardeners using a Humidity Seed Starter Dome is, "How long should seedlings remain under the dome?" The duration can vary depending on the type of seeds, the environmental conditions, and the growth stage of the seedlings. Let's explore the factors that determine the optimal time frame for keeping your seedlings under a Seed Starter Dome.
Generally, seedlings are kept under a Seed Starter Dome until they have sprouted and developed their first true leaves. This period can range from a few days to a couple of weeks. The dome's high humidity environment is crucial during the initial germination phase but becomes less necessary as seedlings grow and strengthen.
It’s important to monitor your seedlings regularly. Overexposure to high humidity can lead to issues like damping-off, a fungal disease common in moist conditions. Once seedlings show signs of growth, it’s advisable to gradually acclimate them to outside conditions. This process, known as hardening off, involves slowly exposing the seedlings to lower humidity levels and more direct sunlight.
Furthermore, as seedlings grow, their need for air circulation increases. Adjusting the vents on the Seed Starter Dome or periodically removing the dome for short periods can help provide the necessary air flow and reduce humidity.
Setting up your Humidity Seed Starter Dome correctly is crucial for ensuring the best start for your seedlings. This chapter provides a comprehensive guide on assembling your Humidity Dome, creating the ideal humidity environment, and managing temperature control. Let's walk through these steps for a successful seed starting experience.
Begin by selecting a flat, stable surface for your seed tray and dome. Ensure that the tray is clean and free from any previous planting residues. Here are the steps to set up your dome:
The next step is to establish the right humidity level inside the dome. Here’s how:
Temperature control is as important as humidity management. Follow these guidelines:
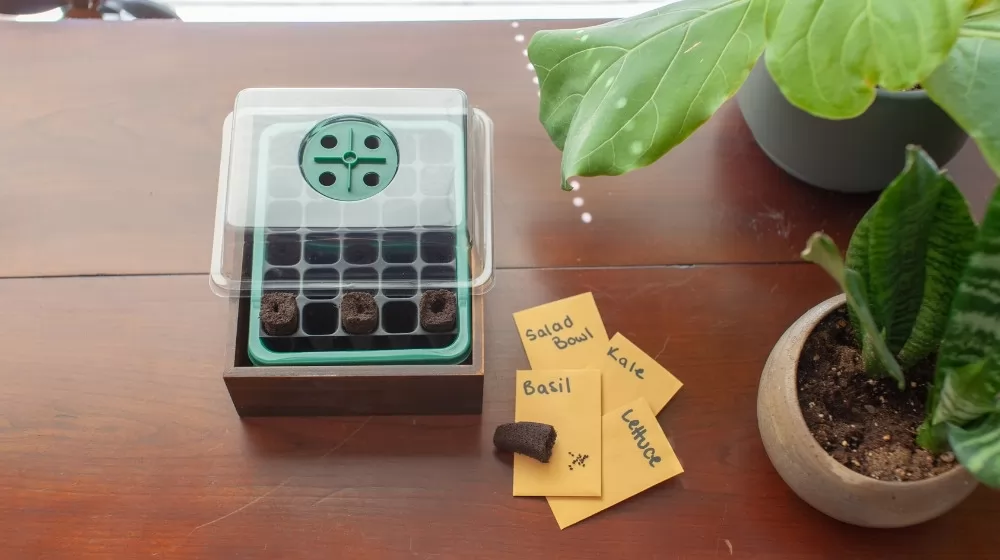
Successful germination in a Humidity Seed Starter Dome involves more than just setting up the right environment. It requires careful planting and ongoing care of your seeds. This chapter covers the essentials of planting your seeds correctly, maintaining optimal humidity, employing effective watering techniques, and understanding the role of light, whether natural or artificial.
The first step in your seedling journey is planting your seeds correctly. Follow these best practices:
Keeping an eye on humidity levels inside the dome is crucial for seed germination:
Proper watering is key to preventing diseases and ensuring healthy seedlings:
Light is essential for seedling growth once they emerge:
Mastering the use of a Humidity Seed Starter Dome involves more than just the basics. In this chapter, we delve into advanced techniques and tips that can further enhance the germination process, manage airflow and ventilation effectively, troubleshoot common issues, and prevent mold growth in your Seed Starter Dome.
Heat mats are a great tool to improve germination rates, especially for seeds that require a warmer environment:
Proper ventilation is key to preventing diseases and promoting healthy growth:
Common issues like mold growth or damping-off can be mitigated with proper care:
Mold prevention is crucial for healthy seed germination:
Successfully germinating your seeds in a Humidity Seed Starter Dome is just the beginning. The next crucial phase is transitioning your seedlings to their new growing environment. This chapter will guide you on when and how to remove the dome, acclimatize your seedlings to ambient conditions, and transplant them effectively.
Identifying the right time to remove the dome is vital for your seedlings' growth:
Gradual acclimatization is key to ensuring your seedlings adapt well:
Transplanting is a delicate process that requires care and attention:
As we conclude our comprehensive guide on using a Humidity Seed Starter Dome, we hope you're equipped with all the knowledge needed for successful seed germination. If you're looking for top-quality Seed Starter Domes, look no further than Linkwin, China's leading manufacturer and wholesaler in this field. Our products are designed to provide your seeds with the perfect environment to thrive. Discover our range and enhance your gardening journey at www.agriculturaltool.com. Happy planting, and may your garden flourish!





We use cookies to make the website work, to provide advanced features, social media and traffic analysis, and we use analytics and third-party advertising cookies. If you choose to click "Deny All", you will retain the default setting of not allowing the use of cookies or other tracking tools other than technical tools.

