Table of contents:
Importance of Using a Seed Tray
Step 1: Allow the seeds to soak overnight to expedite the germination process
Step 2: Fill the seed tray with earth
Step 3: Evenly irrigate the soil until excess liquid drains through the holes
Step 4: Sprinkle the seeds onto the soil
Step 5: Place a thin layer of soil over the seeds
Step 6: Mist the surface with tap water
Step 8: Position the seed tray in a warm, well-lit, and adequately ventilated space
Step 9: Move the seedlings to a larger pot
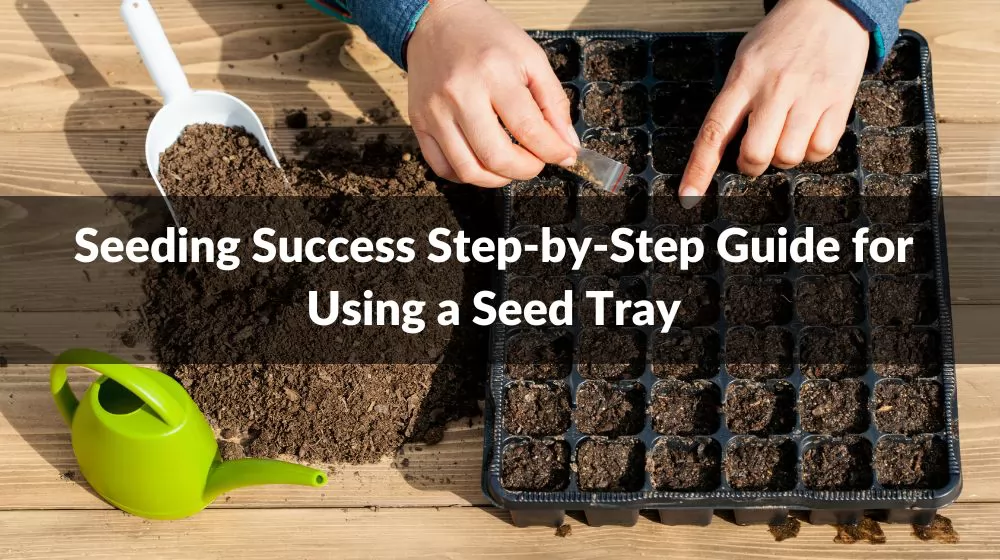
Embarking on a journey to cultivate your own garden from seeds is a rewarding endeavor that starts with the fundamental tool - the seed tray. A Seed Tray serves as the launching pad for your plants, providing an organized and controlled environment for germination. In this step-by-step guide, we will walk you through the process of seeding success, highlighting the key steps and considerations to ensure a flourishing garden.
A seed tray is a valuable tool in gardening and horticulture that serves several important purposes, especially in the early stages of plant growth. Here are some key reasons why using a seed tray is beneficial:
Organization:
Seed trays provide a structured and organized way to start seeds. They come with multiple cells or compartments, allowing you to plant different seeds in a neat and orderly fashion. This helps you keep track of the types of seeds you've planted.
Optimal Germination Conditions:
Seed trays are designed to create optimal conditions for germination. They usually have a cover or lid that helps retain moisture and warmth, creating a mini-greenhouse effect. This controlled environment promotes faster and more successful germination.
Space Efficiency:
Seed trays are space-efficient, allowing you to start a large number of seeds in a relatively small area. This is particularly useful for gardeners with limited space or those who want to start seeds indoors before transplanting them outdoors.
Easy Transplanting:
The individual cells in a seed tray make it easier to transplant seedlings once they've reached an appropriate size. This minimizes root disturbance, as each plant can be removed without disturbing neighboring seedlings. This is crucial for ensuring the health and vigor of the young plants.
Prevention of Overcrowding:
Overcrowding can lead to competition for nutrients, light, and space, resulting in weak and leggy seedlings. The cells in a seed tray help prevent overcrowding by providing each seed with a designated space for growth.
Water Management:
Seed trays typically have drainage holes to prevent waterlogging, ensuring that excess water can drain away. Proper water management is essential for preventing damping off and other diseases that thrive in overly wet conditions.
Time and Resource Efficiency:
Using a seed tray allows you to efficiently manage your time and resources. You can sow seeds in a controlled environment, monitor their progress easily, and then transplant them at the right time. This can result in healthier and more robust plants.
Variety Testing:
For those experimenting with different plant varieties, seed trays provide an ideal way to test multiple varieties side by side. This allows you to observe and compare the growth habits, germination rates, and overall performance of different plants.
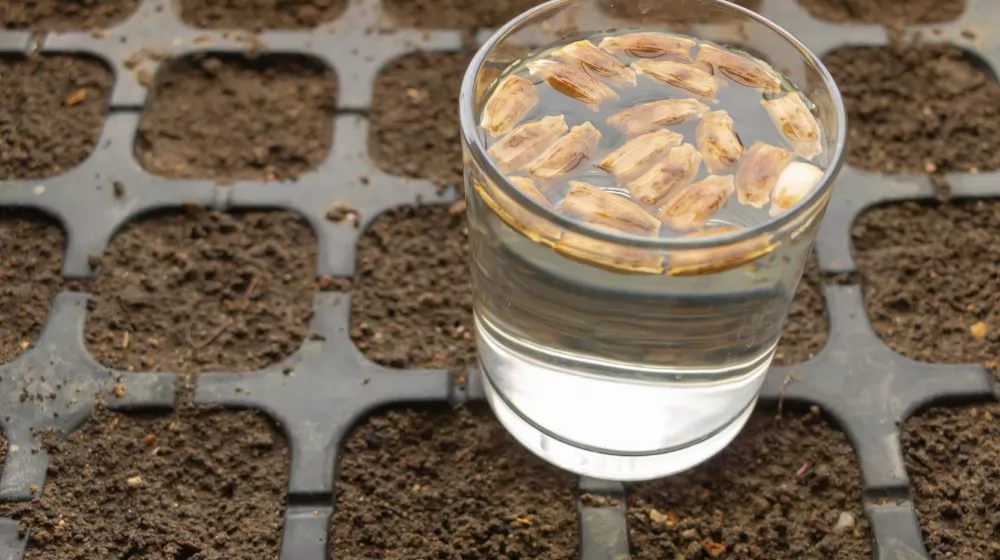
Soaking seeds serves a dual purpose in seed germination. Firstly, it facilitates the softening of the protective outer layer of the seed, a process that can break dormancy and encourage germination. Additionally, soaking boosts the moisture content around the seeds, acting as a signal for the seed to initiate the germination process.
To begin the soaking process, take a container and fill it with tap water. Pour the seeds into the water, and if you have a tea strainer, it can be used to contain and immerse the seeds during soaking, preventing them from scattering. This containment aids in efficient soaking and ensures that all seeds receive adequate moisture.
If there are concerns about the tap water containing high levels of chlorine, it is advisable to allow the water to sit for at least two hours before adding the seeds. Chlorine can potentially hinder germination, so this waiting period helps to dissipate the chlorine, creating a more favorable environment for the seeds to begin the soaking and germination process.
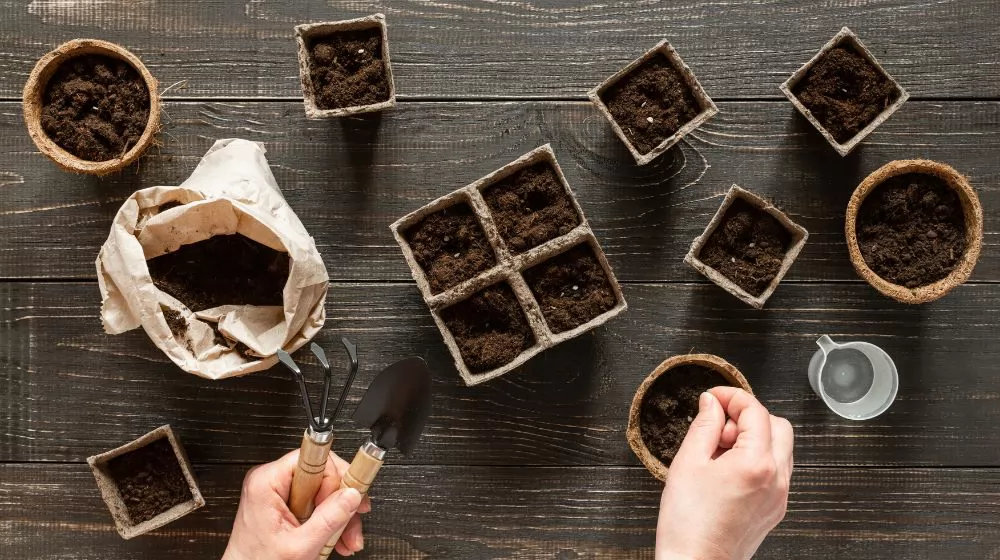
Fill the seed tray with soil, then tap lightly to level off the soil while scraping off the excess. Do not press down. It is important to use good quality soil. I always use a combination of compost and coco peat since compost provides the nutrients while coco peat makes the soil airy to allow the roots to spread easily. Optionally, you may add a layer of coarse sand or small rock pebbles at the bottom to help drain water faster. You can also use pumice or perlite if available, since they retain moisture longer while allowing for drainage.
Check if the water is properly draining out of the holes. If you do not see some amount of water flow out of these holes, it is either soil is too compact, the holes are too small or you need to add more water. You will also notice the volume of the soil contracting a little bit as it settles in the seed tray. Wait a few minutes until most of the the excess water drains out from the bottom. It is important that the soil is moist but not soggy. If water accumulates on the surface, it is possible that the bottom part is clogged or the holes are too small. Punch more holes if needed.
If you are using a compartmentalized seed tray, drop 2 seeds per compartment to increase the chance that at least 1 seed will germinate per compartment. Push the seeds down lightly but do not bury the seeds deeply.
Spread a thin layer (about .5 cm) of soil on top of the seeds. Tap again lightly and scrape off excess soil but do not press down.
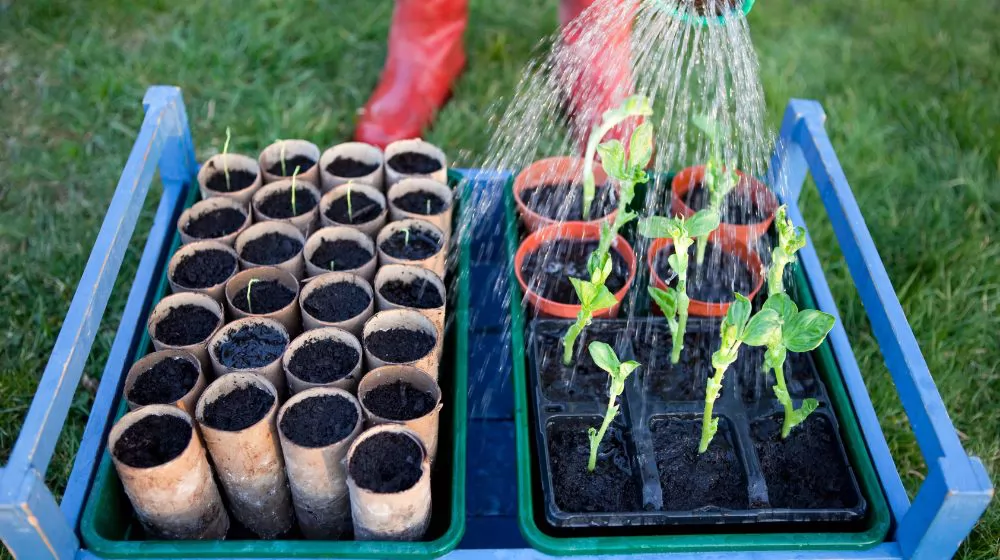
Using a spray bottle, moisten the top layer with water. Make sure the top soil is completely wet. If you don’t have a spray, use your hands or a large spoon to scoop water and pour it gently over the soil. Make sure the top soil is not disturbed. Tap the seed tray again to allow water to seep through.
This is very important especially if you are planting more than 1 variety of seeds. You may use popsicle sticks, discarded plastic utensils, or a masking tape. Plastic labels are also available commercially.
The seed tray can be placed indoors or outdoors, for as long as there is ample natural light and proper ventilation. When placed outdoors, make sure the seed tray is not exposed to too much sunlight (although a little indirect sunlight will help) nor heavy rains. Most seeds germinate faster when the soil is warm (20 – 30 degrees Celsius). Depending on the type, seeds typically germinate from 2 to 15 days. The seed packet labels usually indicate the length of time expected for germination. Using a water spray, moisten the soil every 2-3 days when the soil gets dry.
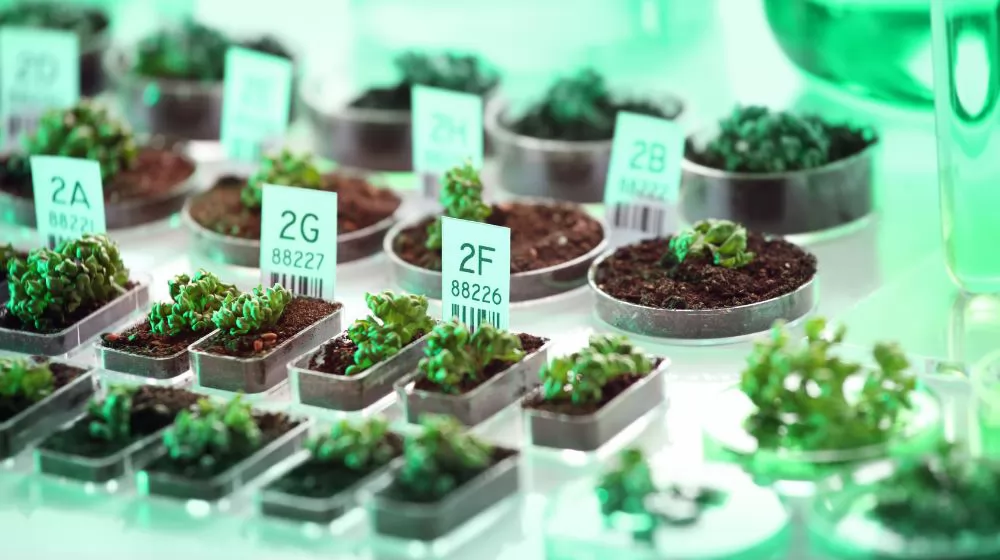
Wait for the true leaves to appear before transplanting into a bigger pot. The first 2 leaves are not really plant leaves but are the seed’s cotyledons. The true leaves are the second set of leaves that start to appear after the first set. As soon as the true leaves have fully grown, the seedlings are ready to be transplanted.
Their young roots are still very fragile so sudden sun exposure might shock the small seedlings. Expose the seedlings slowly to direct sunlight (maximum of 2 hours) for the first two weeks, and gradually increasing the sun exposure in the next few more weeks. To avoid overcrowding the pot, thin out the seedlings in every pot by pinching off or pulling out the weaker seedlings.
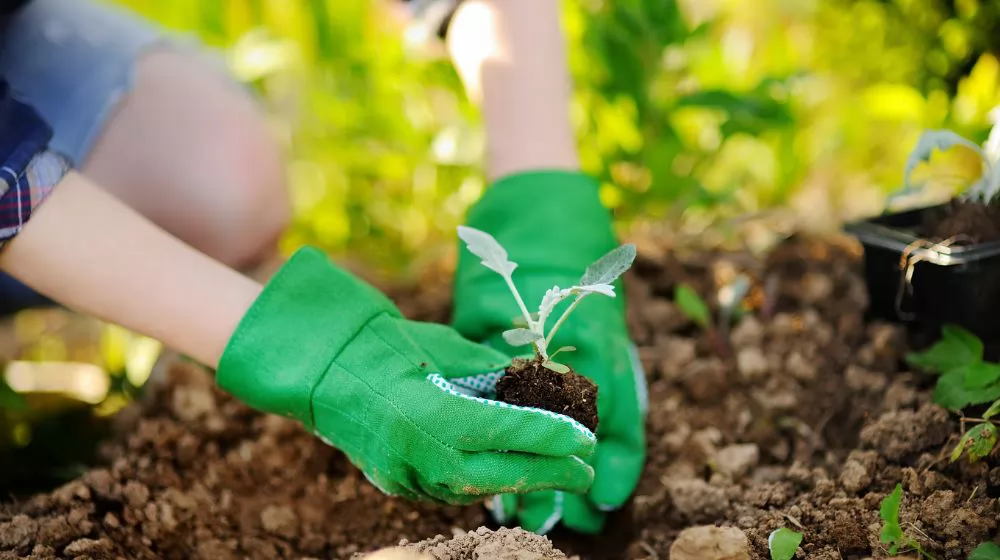
Mastering the art of using seed trays is a critical step to gardening success. From choosing the right seeds to creating the best environment, this step-by-step guide gives you the knowledge to grow your seeds into lush plants. If you need seed trays or plant labels for your garden, please contact Linkwin to provide you with high-quality products and services!




We use cookies to make the website work, to provide advanced features, social media and traffic analysis, and we use analytics and third-party advertising cookies. If you choose to click "Deny All", you will retain the default setting of not allowing the use of cookies or other tracking tools other than technical tools.

